
In this article we will learn about how to add a vertical divider in Elementor. This will help you to add much more visual appeal to your website.
Follow the steps mentioned below to add a vertical divider to your Elementor page.
Method 1. Vertical and Responsive Elementor Shape Divider Using ShapeDividers.com
You can even create animated Shape Dividers
Method 2. Transforming the Elementor Shape Dividers into Vertical Dividers
To get a divider like this :
Watch the video, and use this code!
<script>
/* Please login to get the code
 * The code will be for the Super Easy Elementor Vertical Divider tutorial
 * Found at this URL https://element.how/elementor-vertical-divider/
 */
</script>
Method 3. Transforming the Elementor Divider element into simple vertical dividers
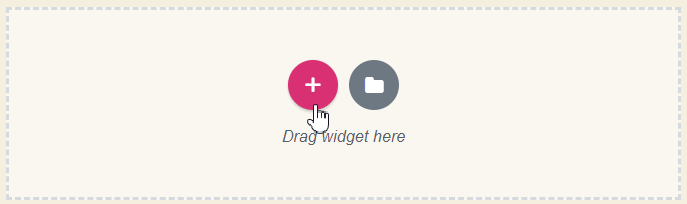
Step 1: Add a new Elementor section
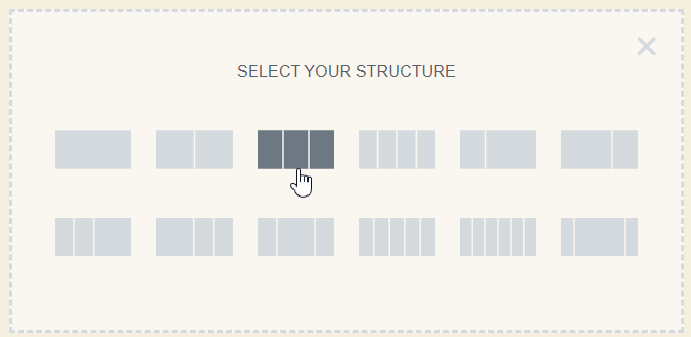
Select the three column Elementor layout
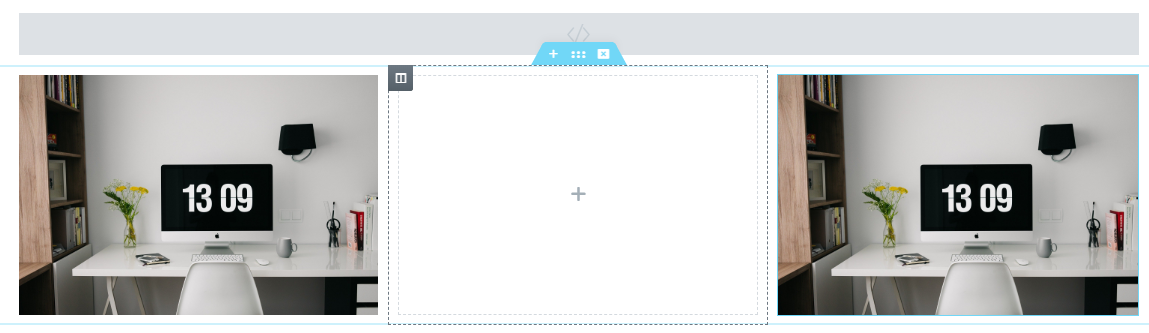
Add two elements to the Elementor section
Add two Elementor elements to the left and right most columns of the section. Here we are adding image elements to the columns. The empty column in the middle will serve for the purpose of a divider later on.
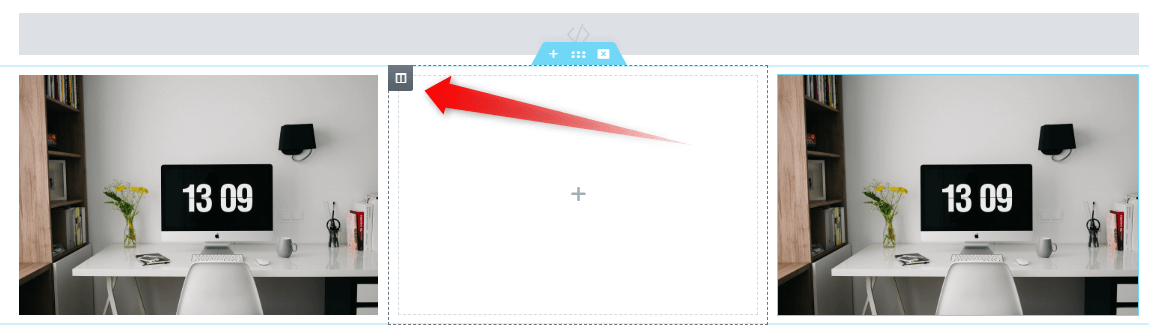
Step 2: Adjust the width of the Elementor columns
Adjust the width of the middle column
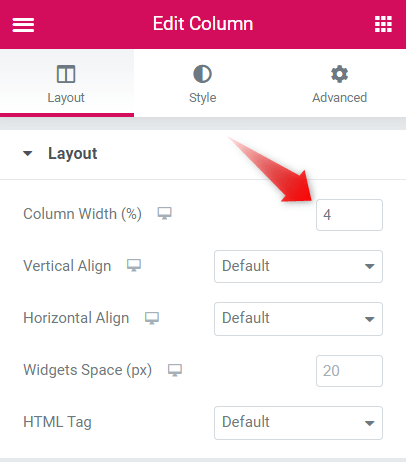
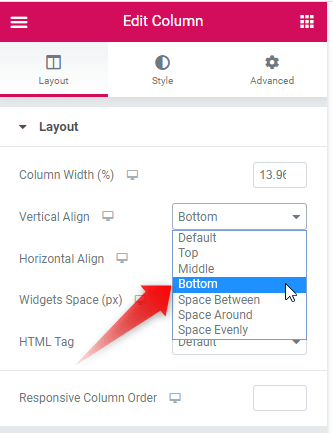
Click on the Edit Column icon of the middle column.
Change the Column Width under the Layout tab to 4%. This will make the middle column narrower for the divider to fit in.
Change Vertical-align attribute of the middle column

Change the Vertical align attribute to "Bottom".
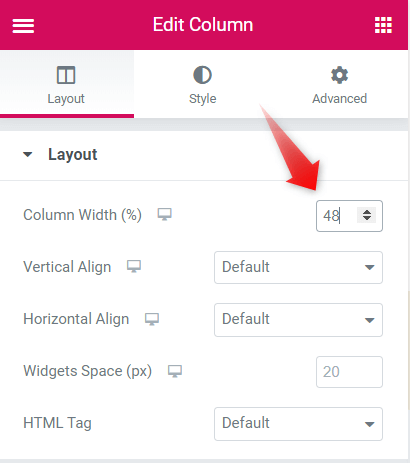
Adjust the width of the right and left Elementor columns
Go to the edit column toolbox for the right and left columns in the section.
Step 3: Add Elementor divider element
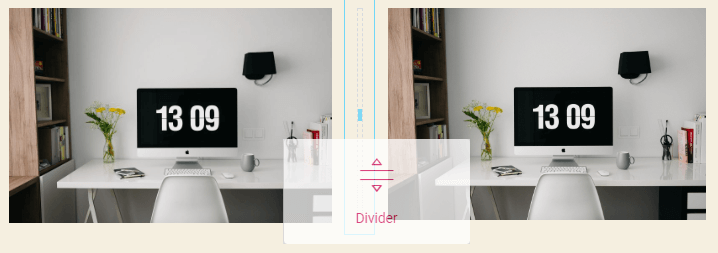
Drag and drop the Elementor divider element in the center column of the section.
Open edit column toolbox for the Elementor middle column
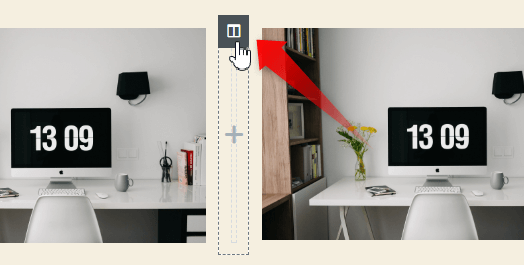
Change the Vertical Align to Bottom under the layout tab.
Step 4: Change Elementor divider properties
This can be easily achieved by going to the going to the Elementor navigation windows and accessing the divider properties.
Go to Elementor navigation tab
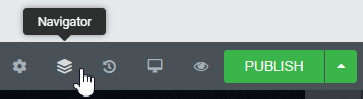
To the bottom left side of the page you will find the Navigator icon. Click it to open the navigator toolbox. You will need the navigator toolbox edit properties for the divider element.
Open the Elementor divider properties
Open the Edit divider properties window from the Elementor navigator toolbox.
Change properties from the Edit Divider toolbox
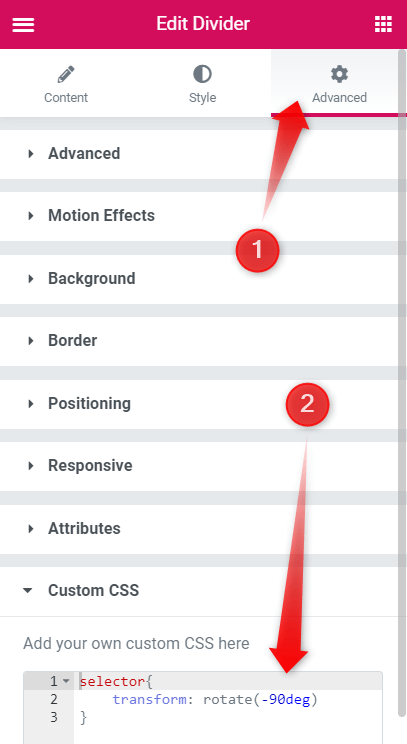
- Go to the Advanced Tab.
- Add the below to the custom CSS text box.
<script>
/* Please login to get the code
 * The code will be for the Super Easy Elementor Vertical Divider tutorial
 * Found at this URL https://element.how/elementor-vertical-divider/
 */
</script>
If you have Elementor free, give your divider a class name under Advanced > CSS Classes, and replace 'selector' with '.yourclassname'. See how to add CSS for Elementor free websites for more information.
Step 5: Styling the Elementor Divider
Adjusting the height of the divider
Go to the Edit Divider tool box again and open the Content tab.
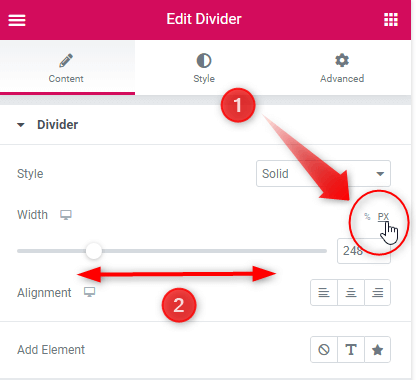
- Change the unit of width to PX.
- Adjust the width scrollbar to adjust the height of the divider.
Styling the divider
Go to the style attribute and toggle through the available divider style options.
You can also add a text or icon element in between the divider.
![]()
Conclusion
Alright! Now you know how to add a vertical divider element to the Elementor page. It will help you to make more vibrant websites.
18 Responses
So cool, thanks !
Glad you enjoyed this!
That’s clever. Thank you.
Thanks!
it doesnt work
Share me your page URL I will have a look why that might be
Updated with working code now. An Elementor update made this break.
This code no longer works because the editor limits the pixel height.
I think you haven't followed the tutorial properly Adam! You would have noticed we aren't using the 'height' setting, to set the height!
Didn't seem to work for me either. The height of the divider container seems to be fixed. For a simple solid line vertical divider, setting the 'width' to 1px and manually entering a number into 'weight' in the Styles Tab did the trick for me.
Travis Kelekolio You are right, the code didn't work anymore. My apologies to both of you. Looks like an Elementor update changed a few things...
I updated my code in the article to fix this. Now, it works!
Just needed to add this:
selector .elementor-divider {
display: block;
}
Custom CSS is not even possible on Elementor Free opposed to what is said in the article. Please do not mislead people.
It is possible, and here is how : https://element.how/elementor-free-custom-css/
Hello Maxime
I did the method 1, in desktop it looks great, but in mobile phone, i see it as a problem that shows in the middle of my phone screen, i tried with css to hide it for mobile but it didint work. Any help please?
Hey Marius!
Try with this CSS:
@media (max-width:767px){
selector .elementor-shape{
display:none;
}
}
I tried the method 2 and it worked for a sec, was white and I tried to change the shape and it keeps disappearing.
Hi Maxime,
can you tell me how to impliment this "about us" section shapes.
https://kdxdiagnostics.com/
Regards,
Dinesh.
This is a mask, checkout videos about the Elementor mask feature!