
In this article we will learn how to add custom CSS to an Elementor free page or website easily. There are three ways of doing so, follow the instructions below to complete this task in Elementor quite easily.
The three ways of adding a custom CSS to an Elementor page or website are:
- Add CSS code via the HTML element.
- Via the Code Snippet plugin.
- Using the Elementor theme customiser
Method 1: Add CSS code via the Elementor HTML element
Use this method if you want to add CSS to a single page only.
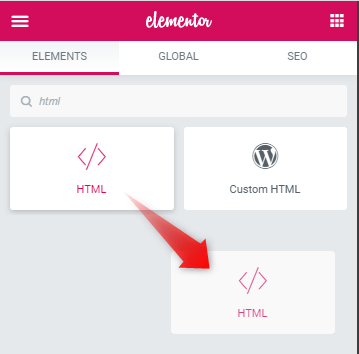
Step 1: Drag and drop the Elementor HTML element
You can place this HTML element anywhere in the page, and it will work just fine.
Step 2: Click on the Edit HTML icon
![]()
Click on the Edit HTML icon to the right of the Elementor HTML element. On clicking this, an edit HTML toolbox will appear in the right of the screen.
Step 3: Add your CSS code
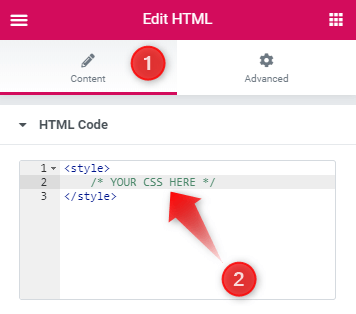
- Click on the Content tab and open the HTML code drop down.
- Place your CSS code within the <style></style> tags.
Method 2: Elementor free custom CSS via the Code Snippet Plugin
Advantages of using the Code Snippet plugin:
- If you want to change or update your WordPress theme, then the CSS will still be applied.
- It is the most convenient and efficient way to add in CSS code, since you can activate or deactivate CSS code like plugins.
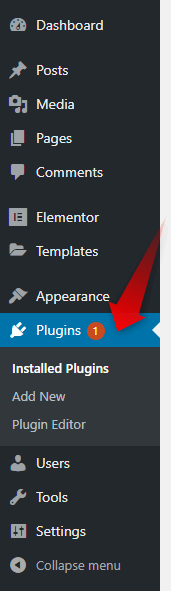
Step 1: Open plugins tab of your WordPress website
Step 2: Add a new plugin
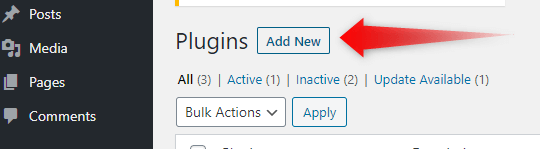
Click on the "Add New" button to navigate to the new plugins addition page.
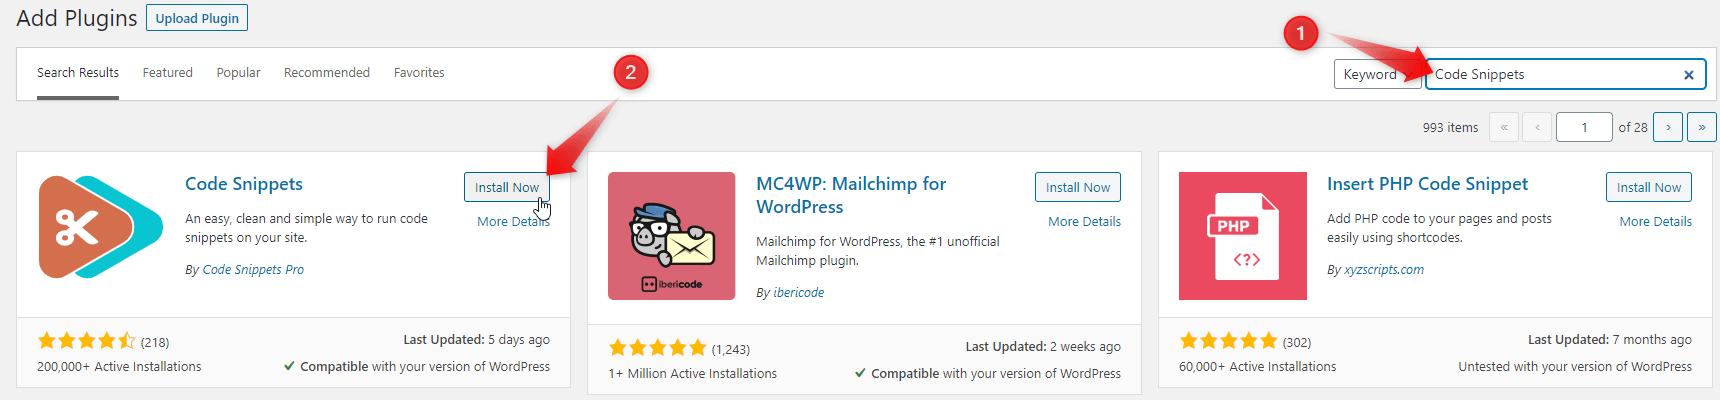
- Search for the plugin "Code Snippets".
- Install Code Snippets by clicking the Install Now button after the search results come up.
Step 3: Activate the Plugin
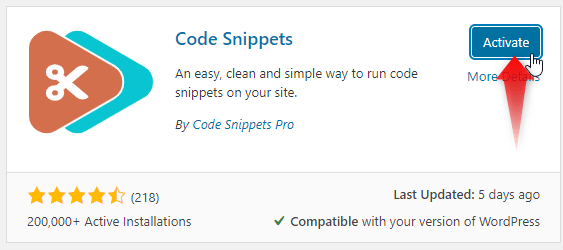
Click on the "Activate" button after the plugin installation has completed to activate the Code Snippets plugin.
Step 4: Open the plugin page and add a code snippet
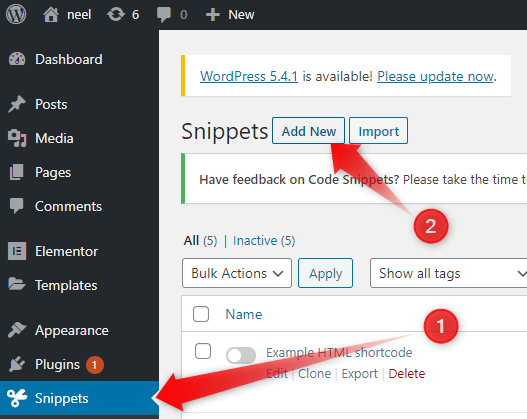
- Open the Snippets tab from your WordPress page.
- Click on the Add New button to add a new snippet.
Step 5: Make a Code Snippet and activate it
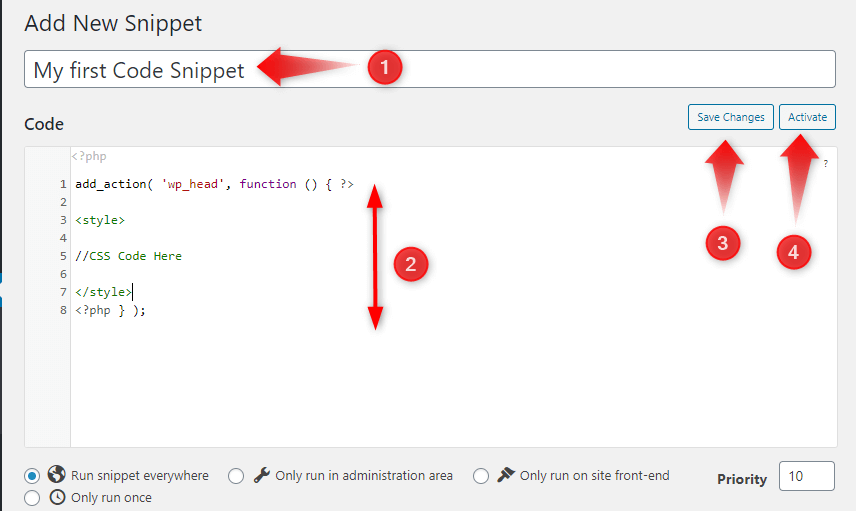
- Give a meaning name to your code snippet.
- Inside the <style></style> tag, write your relevant code. This code is available below for copying.
- Click on the "Save Changes" button to save snippet.
- After saving the CSS click on "Activate" to activate the CSS code.
<script>
/* Please login to get the code
 * The code will be for the Super Simple Elementor Free Custom CSS tutorial
 * Found at this URL https://element.how/elementor-free-custom-css/
 */
</script>
Method 3: Using Elementor Theme Customizer
Note: Be careful before using this method because if you change your theme then you will lose this custom CSS addition.
Step 1: Open the theme customizer
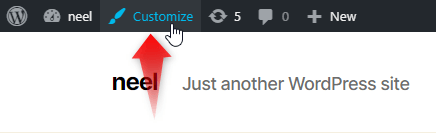
Go to your website and click on the customize option in the upper navbar. This will open up a theme customizing window.
Step 2: Click on the Additional CSS tab
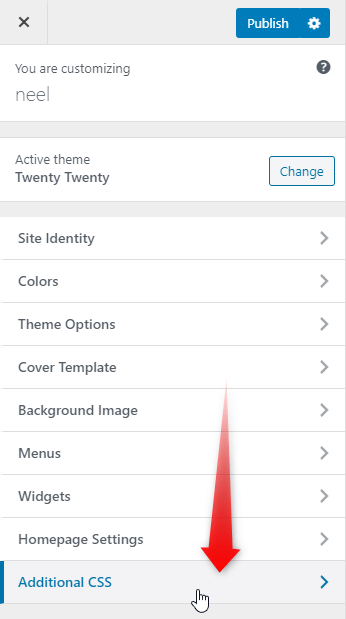
This will open up the CSS entry page.
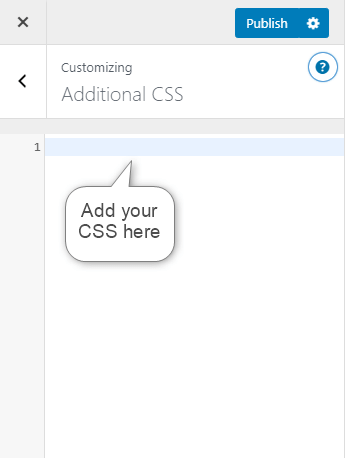
Step 3: Add in your CSS code
Dealing with the selector keyword with Elementor Free
You might often come across code snippets that looks like this.
selector {
z-index:99;
color:#fff;
}
Code snippets that have this word in it... 'selector'. Then you try to use this in Elementor free, and no matter what, it's not working.
Understanding the selector keyword
The first thing we need to do is to understand what this 'selector' keyword is, in the context of Elementor Pro.
When added to an Element's Custom CSS field (Under Advanced > Custom CSS), selector acts as a dynamic keyword that gets rendered to proper CSS selectors on the front end. These CSS selectors single out the particular element where that CSS was added.
Example: you add
selector{
background-color:#000;
}
to a heading element. On the front end, the CSS will now look like
.elementor-1483 .elementor-element.elementor-element-fe3b725.elementor-heading{
background-color:#000;
}
The selector keyword was replaced by .elementor-1483 .elementor-element.elementor-element-fe3b725.elementor-heading automatically in the output CSS.
How to replicate this with Elementor free
So, this means that when you are using Elementor free and see a code snippets with selector in it, first you need to change selector to proper CSS selectors.
The process is like this: add a class to your element under Advanced > CSS classes, then replace selector with your newly given class.
Example: I want to add this text stroke CSS to my header.
selector h2{
-webkit-text-stroke: 1px #FFF;
-webkit-background-clip: text;
background-clip: text;
-webkit-text-fill-color: transparent;
}
First I need to add a class name of my choice under Advanced > CSS classes
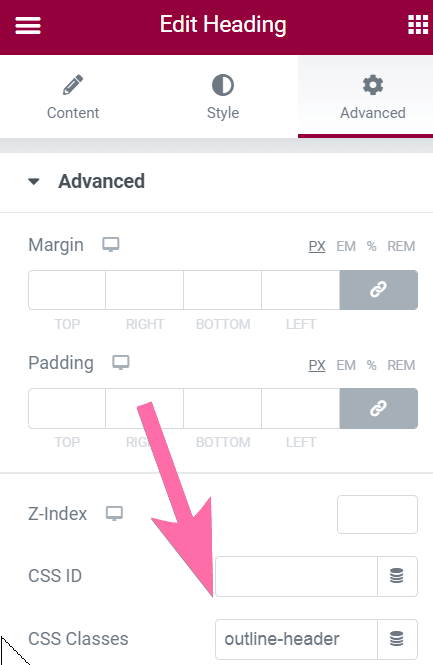
Then I replace 'selector' with 'outline-header' in the code snippets. I keep everything else as it is.
I end up with:
outline-header h2{
-webkit-text-stroke: 1px #FFF;
-webkit-background-clip: text;
background-clip: text;
-webkit-text-fill-color: transparent;
}
One more step is needed. 'outline-header' is a CSS class name, so to use it in a CSS rule, it needs to be prefixed by a dot ( . ).
.outline-header h2{
-webkit-text-stroke: 1px #FFF;
-webkit-background-clip: text;
background-clip: text;
-webkit-text-fill-color: transparent;
}
Important: every instance of 'selector' needs to be replaced in this way, in case there are more than one.
And now we have it. You can now use this CSS along with one of the three methods above to add your custom CSS snippet to Elementor free.
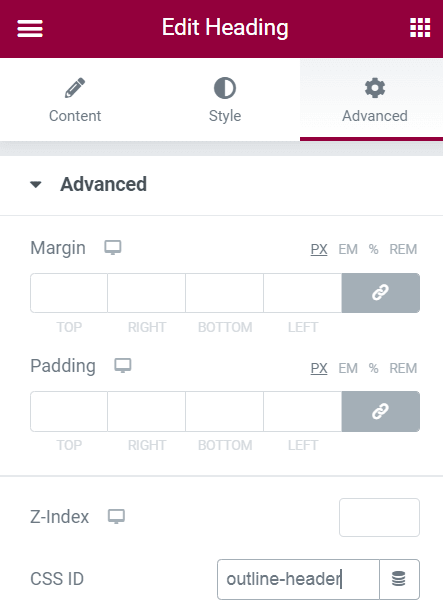
If the CSS code still isn't working, maybe it doesn't have priority.
There are two ways to fix this:
1. Enter a CSS ID instead of CSS class. then to select it, the process is the exact same, but you need to use a # instead of a dot.
#outline-header h2{
-webkit-text-stroke: 1px #FFF;
-webkit-background-clip: text;
background-clip: text;
-webkit-text-fill-color: transparent;
}
Note that if using a CSS ID, you should only have one such ID per page. That's why using classes is preferred. If you want the same CSS applied to more than one element, you give all these elements the same class name. This should not be done with CSS IDs as it's not proper HTML5.
2. Add !important to your CSS rules (not recommended, use only if nothing else will work)
.outline-header h2{
-webkit-text-stroke: 1px #FFF !important;
-webkit-background-clip: text !important;
background-clip: text !important;
-webkit-text-fill-color: transparent !important;
}
Conclusion
Alright! Now you know how to add custom CSS to an Elementor free page or website easily. This will make you more flexible in designing unique web pages in Elementor Free.