
In this tutorial, I'm going to show you how to create "pseudo tabs" with Elementor to prevent bugs from normal tabs, and to improve page load performance.
The problem
One problem while using the Tabs element is that if you are adding heavy elements (such as the Loop Grid or Loop Carousel elements) or many elements (such as almost creating an entire "page" of content in each tab), you might start to have performance issues.
Performance issues on the front end (page load), and also in the Elementor editor (difficult to work in the editor).
Another problem is that if you are using JavaScript dependant elements in your tab content, it might not render well. For example, if you are using a Loop Carousel, or a Gallery Pro element, or any other JS dependant element, in any tab other than the very first tab, you might run into bugs.
With the method shown in this tutorial, we are preventing these issues.
Another benefit is regarding SEO. Because each tab content will become its own page, with it's own <title> and meta-description, and no tab content will be display:none, this has a positive impact on SEO for this content.
When to use this method:
- When you have tabs with lots of content in them
- When you have tabs with JavaScript dependant elements in them
- When SEO is a priority (ie. when the tab content is important for SEO)
Pseudo Tabs on Popular Websites
"Pseudo tabs" are a popular choice for popular websites, such as Google:

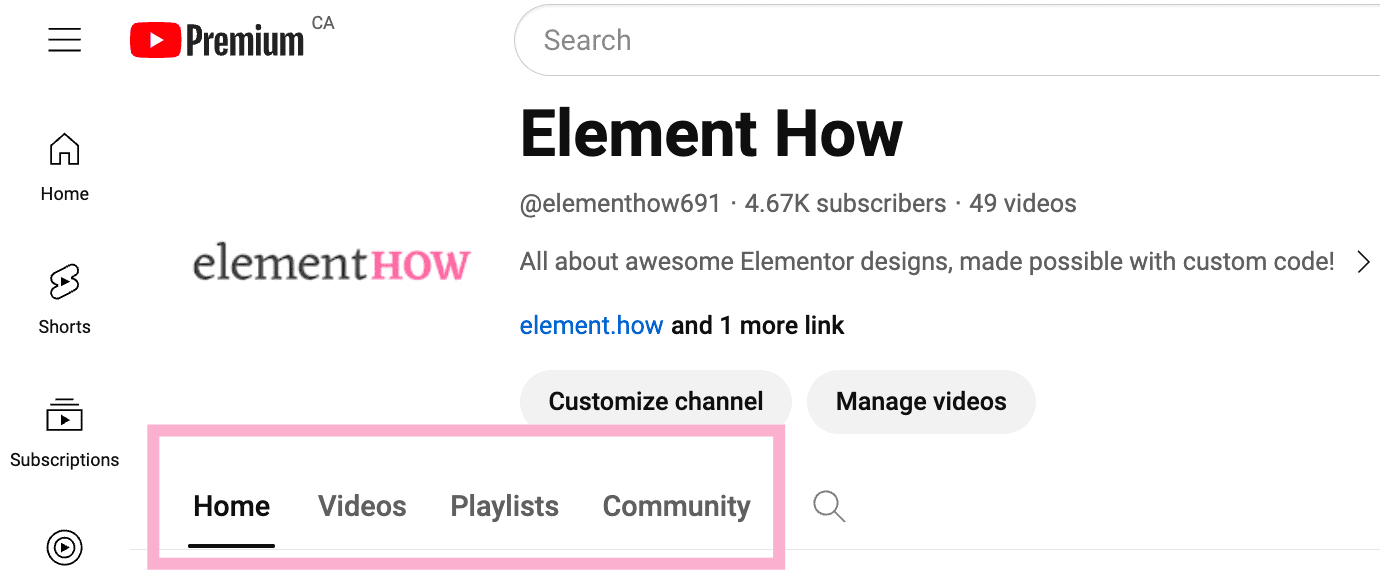
YouTube (pictured here in the channel view):
Facebook:

All of these are styled like Tab Titles, yet are actually links to other pages. These are just a few examples of many, it's a widely used design pattern.
Live Demos of Pseudo Tabs
Essentially, this technique is quite simple: instead of using the tabs element, we are replacing it with a Nav Menu element.
We then link to different pages, that correspond to the "tab content".
Here is a live demo:
What is happening here is that I have three different pages. They all have the exact same nav menu element at the top, and it is styled somewhat like a tabs element would be.
On mobile, you will see that I have some extra features. I have left and right arrows, and there is an "auto scroll to active item" on page load.
If you want to see another demo that's styled completely differently, visit my ShapeDividers.com Documentation. I used the same technique.
Creating your Pseudo Tabs
Creating the pages
So the very first step is for you to create a new page for each tab content.

For now, just give them a name and publish them.
Creating the menu
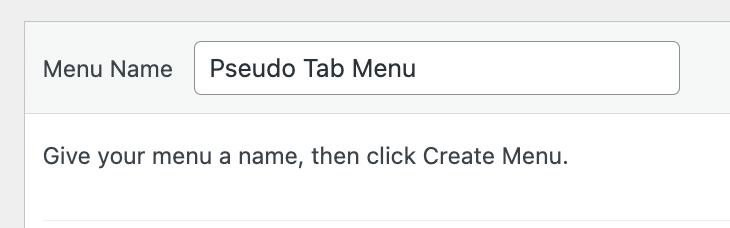
Now you need to go under WP > Appearance > Menu, and create a new nav menu.
Then, add all the pages you just created in that menu and click "Save".
Let's create a Single Page template now
To have perfect consistency across all the "tab pages", we will be creating a Single Page template.
Depending on where you are going to use this, and for what content, this could also be an Archive template linked to some posts or to a CPT.
In my ShapeDividers documentation for example, I used an Archive template. Each link on the left is a "Post", as I didn't need them for anything else on that site. It could have very well been a "Docs" CPT archive.
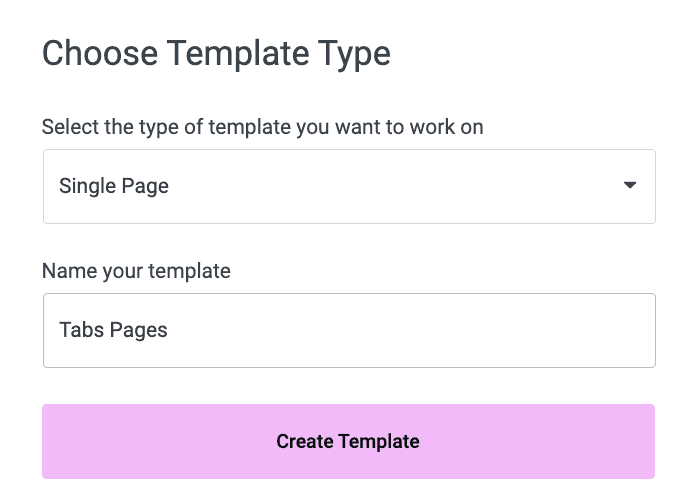
Go under WP > Templates > Theme Builder > Add new Single Page template.
Add the WordPress Menu element in there.
Select the menu you have just created.
Now, I suggest you follow the steps in the Elementor Horizontal Scroll Navigation Menu tutorial, and then come back here.
You should now have an HTML element (place it above your Nav Menu element) on your page.
Find the part that looks just like the code below, and replace it with that code. The styles are adjusted to look like in my demo above. This is just to save you some time changing all the CSS.
<script>
/* Please login to get the code
 * The code will be for the Elementor Pseudo Tabs For Performance And Bug Prevention tutorial
 * Found at this URL https://element.how/elementor-pseudo-tabs-for-performance-and-bug-prevention/
 */
</script>
You will still want to go through this CSS and adjust as you wish.
Now, work that container (which should have the HTML element and then the WordPress Menu element) until it has the perfect styling you want.
Add the Post Content element where needed. That's where the "tab content" will show up.
Publish your single page template, and set the conditions so that all the "tab pages" have it.
Adding the content
Now all that's left to do is go in each "tab page" and add the content that you need in there!
Conclusion
I hope you have enjoyed this tutorial.
Cheers!
6 Responses
Thank you for this tutorial. This is a great solution for an issue that I just encountered when attempting to add widget galleries to separate tabs in the flexbox container. Only the first tab's gallery loaded properly. After reporting this to Elementor, I was told this was a known bug.
The SEO value is sweet extra!
Much appreciated.
Welcome Johnny!
Glad you find it useful!
This method is not going to work if you really want to style the content of each page with elementor, it seems like you can't use an elementor template for another page that was built with elementor
Greetings!
Yes, it's possible to use an Elementor template for an Elementor page.
You go under Templates > Theme Builder > Single Page > Add New, and create your page template. Then in the Display Conditions, you select the Pages where this template should be applied.
Cheers!
It is still not working, it works till I edit the target page with elementor, once I edit the page with elementor, the page is loading without the template I created
What am I doing wrong?
Try setting the template display conditions again after you edit the page with Elementor maybe.