
In this article we will learn about how to be make the last link a button easily in Elementor. Most of the time there is a need to separate out to attract more user's attention. To achieve this we need to do some CSS injection to the Elementor header template.
Follow the steps below to easily make the last link a button in Elementor.
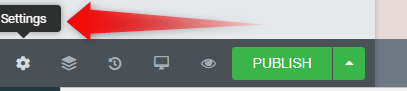
Step 1: Open Elementor header template settings
Click on the page settings icon in the bottom left corner of the pFage. This will open up page settings to the top.
Step 2: Locate the header Custom CSS area
- Go to the advanced tab.
- Open the Custom CSS collapsible and add the CSS to the text below.

Step 3: Add The custom CSS given below
<script>
/* Please login to get the code
 * The code will be for the Elementor How to Make the Last Link a Button Easily tutorial
 * Found at this URL https://element.how/elementor-how-to-make-last-link-button/
 */
</script>

So, this is how the last link looks after injecting the CSS.
To get a different look, you can either edit the CSS, or generate some with this CSS button generator.
Conclusion
Alright! Now you know how to make the last link a button in Elementor. This will make your web page more user friendly.
2 Responses
I added this code for the button to only show up on desktop:
@media only screen and (min-width:768px){
here your code ...
}
Thanks for sharing Diego!