
Contact forms are the most important things for any kind of website. What type of website you have, that's not a matter! If you have a simple landing page website, then a contact form is compulsory for your website. You can get a lot of variations of contact form by different Wordpress plugins. But if you are an Elementor user then it's now very easy for you to make contact forms according to your requirements.
In this tutorial, we will show you how to make a contact form in the super easiest way.
Before we start, we want to mention that adding Forms are only eligible in the Elementor Pro version. So you must need to have pre-installed both Elementor and Elementor Pro version. So let's move on the steps now.
Step 1: Adding the Form Widget to our Page
To add the form widget, we can search on the widget search Area by writing "form".
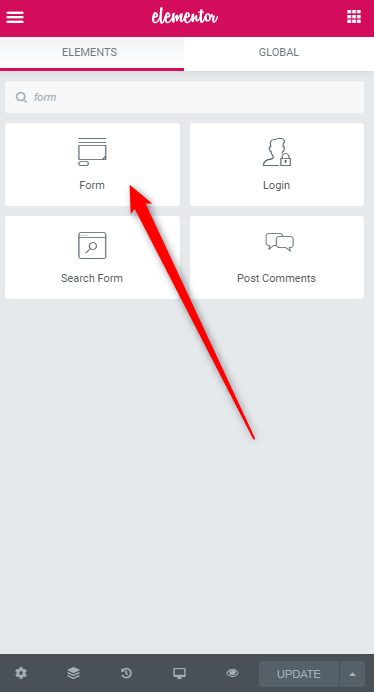
- Drag & Drop it to the area where you want to place this.
- Now we will get a Form window.
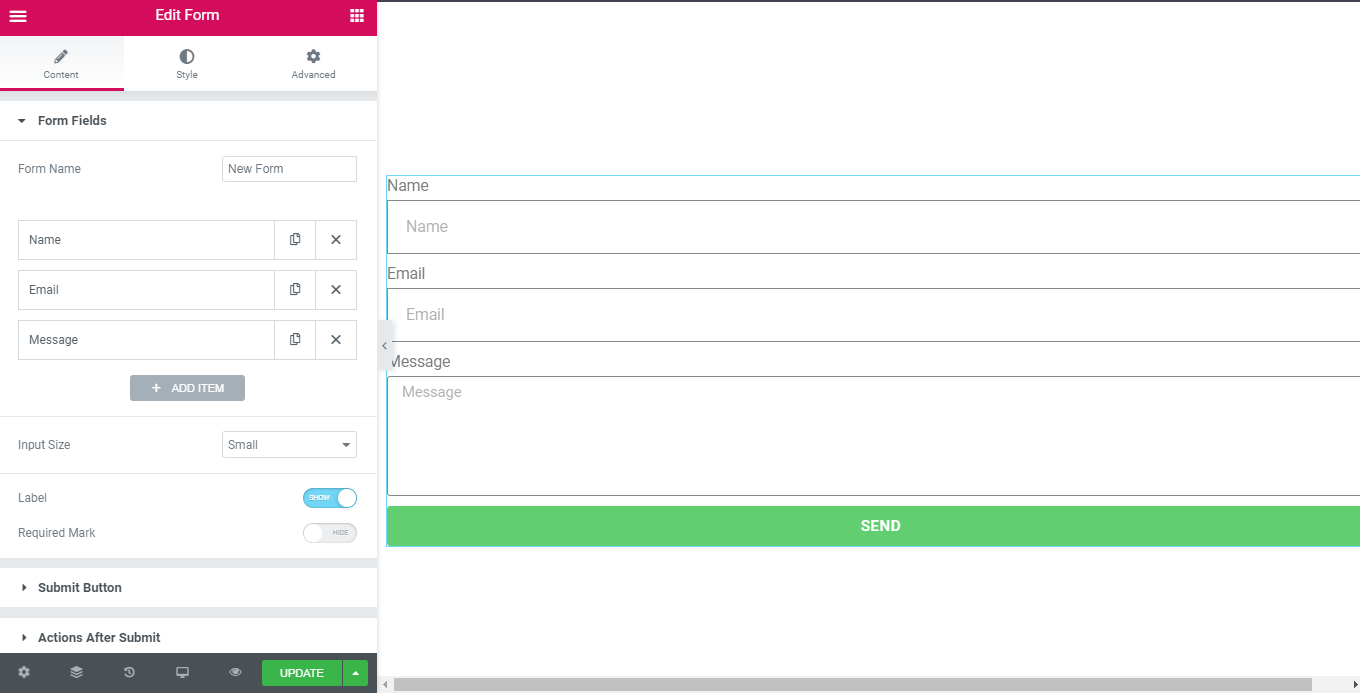
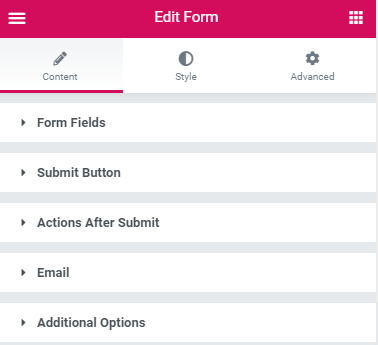
So these are the very basic options for a simple Contact form. Also, you can see there are five different sections. We can customize all these sections according to our requirements. Now we will explain all of these sections.
Step 2: Form Fields
There are two types of settings under the form field section. The first one is the Content tab and the second one is the Advanced tab. We will customize these according to our requirements. Let's talk about these.
Content
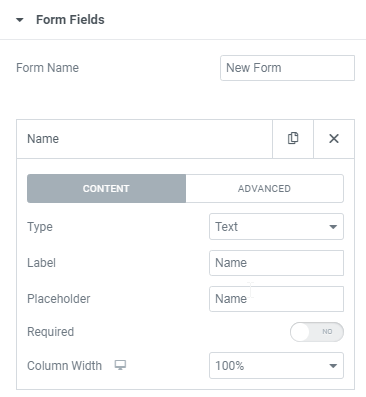
Under the CONTENT setting, you can change most of the main parts of the form. Now if you click on the Name field, you will get several options expanded. You can change these fields according to your form requirements.
- Type: You can select the field type. For the name field, our selected type is "Text".
- Label: The default label is "Name". If we change this, it will be displayed in the form.
- Placeholder: Visitors get the placeholder text until they write something in the Field. The default is showing "Name". You can change it to anything you want. For Example: If you change the current placeholder text to "Enter Your Name", it will be displayed on the form until visitors start to fill in the field.
- Required: If you turn this option to "Yes" then the visitors won't be able to submit the Form until they complete the Field.
- Column Width: You can set the column width of the field according to your form requirements.
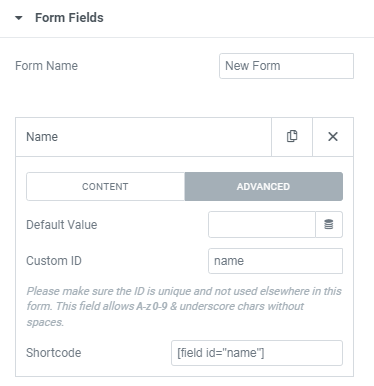
Advanced
Under the ADVANCED setting, you can add some additional values there. There are three different options under the ADVANCED settings.
- Default Value: The default value of the name field is empty. If you need a default value then you can add it here.
- Custom ID: To set a Custom ID, you can add different characters there. It allows A-z 0-9 & underscores chars without spaces. The custom ID is must need to be unique and not used elsewhere in this form.
- Shortcode: It always generates a default shortcode according to the Custom ID. So you don't need to change this.
So we have talked about the Content & Advanced settings under the Form Fields section. All these settings will be applied for all the input fields that we have under the form fields section.
Step 3: Setting Up The Submit Button
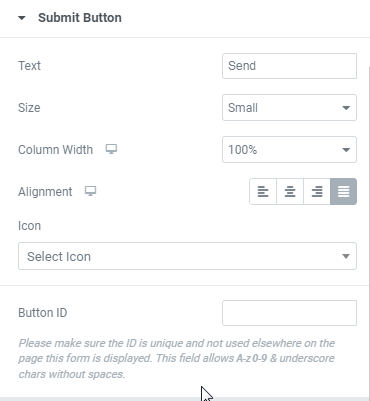
If you click on the Submit Button, you will get some expanded fields. Now we are going to explain all the settings under the Submit Button section.
- Text: The default value is "Send". You can change this text according to your choice.
- Size: You can set the size of the Submit Button to Extra Small, Small, Medium, Large, Extra Large.
- Column Width: Set the column width of the submit button.
- Alignment: The button will be placed according to the alignment setting. You can choose the alignment from here.
- Icon: If you click on the "Select Icon" box, you will get a dropdown list of various icons. Select your desired icon to use that with the submit button.
- Button ID: The button is must needs to be unique. Please make sure that it is not used elsewhere on the page this form is displayed.
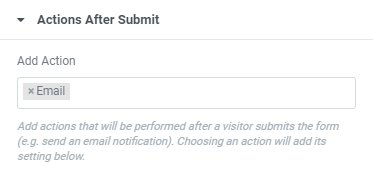
Step 4: Elementor Actions After Submit
If you choose an action, then it will be added to its setting below section. We have selected Email and its settings showing into another Section called Email. This action will be performed after a visitor submits the form. We have explained all the settings in the next section.
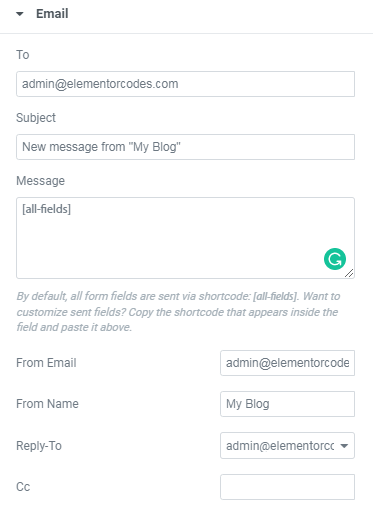
As we have added Email as an action that will be performed after visitors submit the form. Now we will talk about all the settings under this Section.
- To: The email address will be used to get all the submitted emails from the visitors.
- Subject: The subject of the email will be sent to you when the form is submitted.
- Message: You can choose what fields will be sent from your contact form. In the previous sections, we have created and explained some fields and you can use them to set into the Message section.
- From Email: The email address will be used to send emails to yourself by the form submission.
- From Name: After the form submission, you will get the name that is sent through the Email.
- Reply to: After getting the email, when you click on "reply" it basically goes to the email address that is used here.
- CC: If you want to send anyone the CC of the email then simply enter their email. Use separated commas for multiple email addresses.
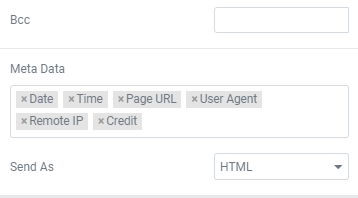
- BCC: You also can send emails to a BCC by entering their email address (for multiple email addresses, use separated commas).
- Metadata: This field contains metadata that you want to get with the submitted form. You can set from here what kinds of metadata will be sent with the form.
- Send As: Choose what types of emails will be sent after the form submission. HTML & PLAIN TEXT are the two formats the can be used to send an email.
Other Actions After Submit
We have talked about how actions work after the form submission. There are some other actions that can be used in the form, but we only have talked about a single one called Email. So let's see how we can use these actions in the form.
Adding Another Email
In the previous section, we have talked about the Email action. We also can use another additional email to send a confirmation message to the visitor who submits the form. The action is called Email2. To use this action, the process will be the same as the previous Email action we have talked about before.
Redirection To Another Page
You can redirect the user to another page after the form submission. To use this action, you just need to select Redirect action and enter the URL of the page.
Webhook
You can receive the data after the form submission by integrating a URL but it needs to be connected with a third-party service you want to use. For example, you can use Zapier to get submitted data of the form.
Marketing Automation
When you scroll down the Actions After Submit field, you will find there some actions to use marketing purposes. MailChimp, Drip, ActiveCampaign, GetResponse, ConvertKit, Mailerlite are the available tools there. You can easily integrate them to add subscribers by choosing any of these newsletter email marketing services. These actions can be used by following some simple steps.
- Select the action that you want to use.
- Enter your API key.
- Select the list or account to send information to.
Sending Form Data To Predetermined Text Channels
By integrating the Slack and Discord actions, you can send the submitted data to your text channels. If you select any of these actions, a new tab will be added. Then you can easily integrate it by filling out the required credentials. Firstly you will be needed to enter the webhook URL. Then you will get options to set the channel name, username, pre-text, title, description, form data, timestamp and color scheme, etc.
Opening or Closing a Popup
You can use the Popup action to create a popup window. You will get options to use it for opening or closing the popup. You can select it from the Popup action tab.
Step 5: Filling Out The Additional Options
In the additional options, you can see several options. Change these values according to your choices. Either if you don't want to change these, you can leave this section. Now let us explain to you these.
Form ID
For different input fields, we have used several unique IDs before. We could use these IDs inside the Form. Now the Form ID can be set with a unique ID same as before and it can be used anywhere on the page. This filed also allows A-z 0-9 & underscore characters without spaces.
Custom Messages
For custom messages, this option is used for different types of messages. You can edit all the types of messages.
- Success Message: This message is used to let know the user that the form was filled & submitted correctly.
- Error Message: After submitting the form, it shows this message when an error has occurred.
- Required Message: This message displays after submitting the form, when a form field is required but wasn't filled.
- Invalid Message: If something is incorrect in the form then it displays this invalid message.

Step 6: Adding Some Additional Styles
Most of the users don't like the default form style and sometimes it doesn't come to match with the website layout. However, elementor has built-in features to add styles. You can style the form easily with these options.
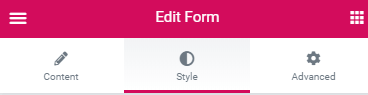
After clicking on the style tab, all the features have been expanded. We have explained how you can style the form easily.
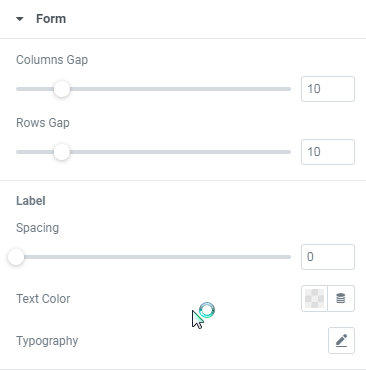
- Form: You can style the form by adding increasing/decreasing the columns gap & rows gap. You also can add spaces, change text color and typography from there.
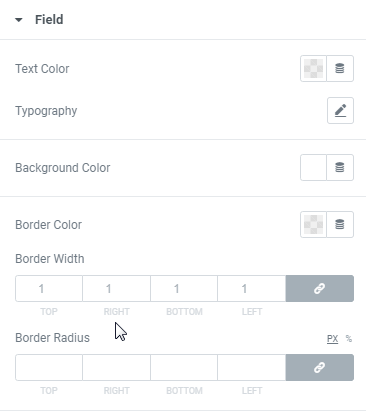
- Field: Text color, typography, background color, border color, border width & radius can be changed from there.
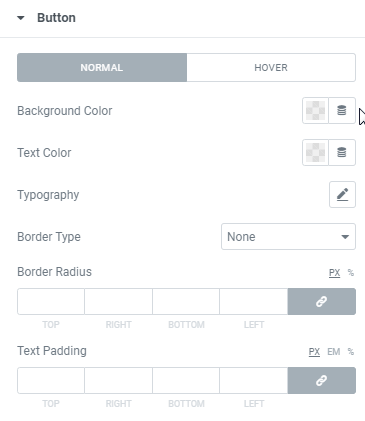
- Button: For the button styles, you can set the background color, text color, typography, border type, border-radius & text padding.
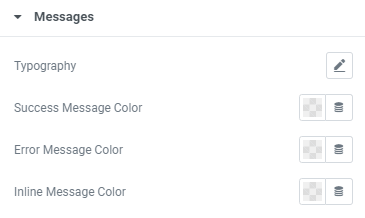
- Messages: We have talked about different types of messages that perform when visitors submit the form. Now you can style these by selecting colors and typography.
Conclusion
Adding a contact form is very much easy if you follow these simple steps. We have shown the ability that can be performed to edit the entire contact form. The best thing about the Elementor Form is you can edit the form according to any kind of requirements.
Now we have created the Form successfully. Let's click on the UPDATE button to publish the form.