
In this tutorial I'm going to show you a method to have a different header navigation for users that are logged in VS logged out users.
This method uses CSS only and is quite simple to replicate. No additional plugins are required.
How To Dynamically Show the Navigation Menu Element for Logged in vs Logged out Users
This whole technique is possible thanks to a built in WordPress function that adds the class "logged-in" to the <body> element, when the users is logged in.

We can then make use of that class to dynamically switch between two navigation elements in Elementor, depending on the logged status of the user.
The CSS we need is as follow:
<script>
/* Please login to get the code
 * The code will be for the Elementor Show a Different Navigation Menu For Logged In & Out Users tutorial
 * Found at this URL https://element.how/elementor-different-navigation-menu-logged-users/
 */
</script>
Add this CSS to your place of choice, optimally somewhere global like your styles.css stylesheet, or in the customizer > additional CSS.
Making the Visibility of Two Nav Elements Dynamic
Now, all that's left to do to make the visibility dynamic, and essentially "switch" between two nav elements for logged in vs logged out users, is the following:
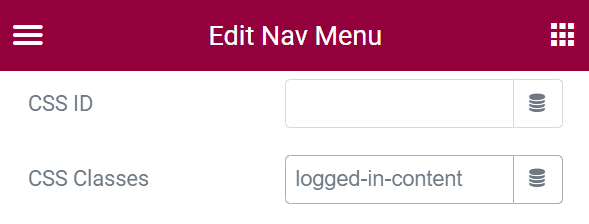
- Add the class name "logged-in-content" to the nav element that should be shown only when the user is logged in

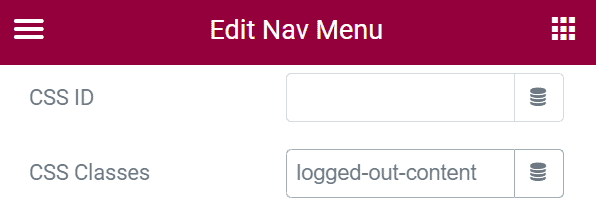
- Add the class name "logged-out-content" to the nav element that should be shown only when the user is logged out

Editing Your Nav Menu
You will see that as soon as you add the class name "logged-out-content", your navigation menu will disappear.
That's what we want, as it now has the CSS display:none; applied.
However how do we edit it then?
The easiest method is to use the navigator, go back to the CSS Classes, and temporarily edit the class name to something else (ie just adding a letter at the end works well).
Then we make our edits, and change the class name back when we are done.
This Works for Every Elements
Adding these class names to any other element will also work in the exact same way. For something as light as a nav menu, this is a good strategy to make your website dynamically display different content depending on the logged status of the user.
If you have very DOM heavy content that you want to show/hide depending on the user log status, I would instead suggest you use a PHP based solution, such as what Dynamic.ooo provides.
Why? Because with a CSS only solution, all the HTML for the dynamic elements is still part of the document. With a PHP solution, only the required HTML is rendered. The document is kept lighter.
For small things like a nav menu, it's perfectly acceptable to have this little bit of extra markup, and use the CSS option. For large and complex things like, let's say, tables, or a listing of some sort with many items, the PHP solution would be better.
Conclusion
You can now enjoy your new dynamic navigation menu.
I hope you liked this tutorial. Let me know if everything worked well for you in the comments, or just say thanks!