
In this tutorial, I'm going to show you how to replicate a mega menu that is similar to the one found on Elementor.com.
Elementor.com themselves used and improved upon (design wise!) my tutorial about creating a mega menu for Elementor without any plugin.
Here is what we will be creating. You will also find the template file in your download zip bundle that came with the course.
Features:
- CSS only, no plugins needed
- Elementor.com-like mega menu design
- Customizable
- Desktop only
Let's get started!
First, let's get the proper structure in place
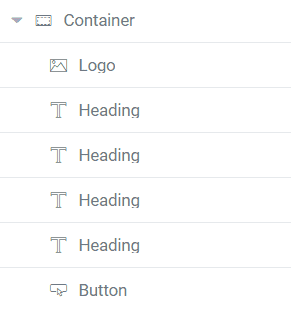
Let's add a container, and in it, let's add our logo, 4 headings and a button.
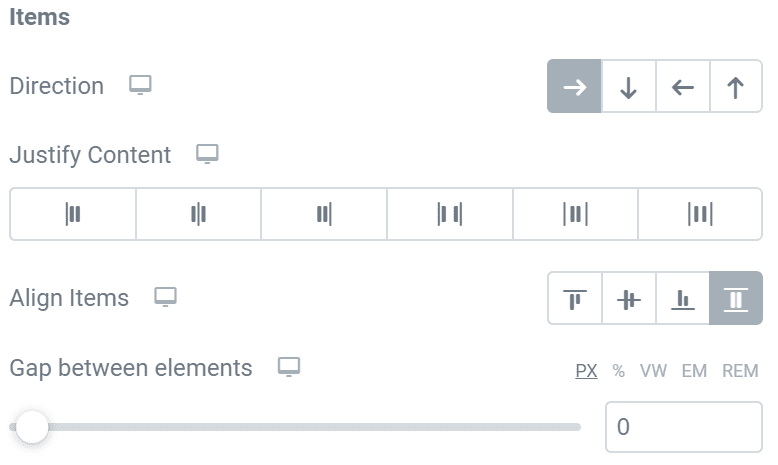
The container should have these settings: width should be set to full width, direction to Row, align items to Stretch and gap to 0.
The headings that should have a sub menu need the classes navItem and navItem_SubIndicator.

The headings that don't need a sub menu only need the class navItem.
Each heading should also have a link. If you don't want or need one, add #.
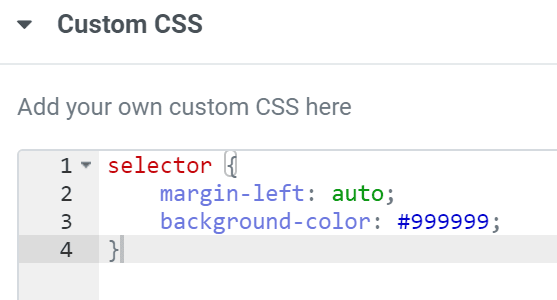
The button will need the following custom CSS to take full advantage of the flexbox container, and push the nav items to the left:
<script>
/* Please login to get the code
 * The code will be for the Create an Elementor.com Like Mega Menu tutorial
 * Found at this URL https://element.how/create-an-elementor-com-like-mega-menu/
 */
</script>
The sub menu indicators
We will be adding a small down triangle to indicate that there is a sub menu for certain nav items, those with the class name navItem_SubIndicator.
We will be using CSS pseudo elements for this, along with position:absolute; and the border trick to create triangles with CSS only.
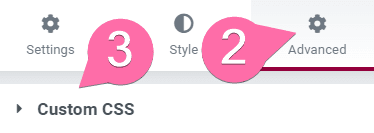
All the CSS provided in this tutorial can be added wherever you prefer, really. Personally I like to add it all here under Settings > Advanced > Custom CSS, so that I can have a live preview of the modifications.
![]()
In the template file, you will find the CSS in HTML elements, so that it works even with Elementor Free. Move it to where you want!
Let's add the following CSS to our project to get our triangles in place.
<script>
/* Please login to get the code
 * The code will be for the Create an Elementor.com Like Mega Menu tutorial
 * Found at this URL https://element.how/create-an-elementor-com-like-mega-menu/
 */
</script>
This works to create a triangle essentially because the element itself has a base width and height of 0px. This results into the four border sides automatically creating triangles that all meet in the middle.
For instance, the following CSS:
::after {
content: '';
position: absolute;
border: 37px solid #000000;
border-right-color: green;
border-left-color: yellow;
border-bottom-color: purple;
}
Results in:

Now all we have left to do is make all but the top border transparent, and we have a downward facing triangle with CSS only!
Back to our triangle CSS.
The line top: calc(50% - 4px); allows us to position the pseudo-element carefully, starting from the exact center of the first ancestor element that has position:relative; (more info about this in the CSS positioning chapter).
You can adjust the values of the top property, as well as the right property, to position the triangle as you wish.
You can also play with the PX and color value in the declaration border: 7px solid #000000;.
Let's prepare the sub nav containers
Get the full CSS course now to unlock this chapter, and 50+ others.