How to Use the Inspect feature in Chrome to Locate and Modify CSS
Know how to target specific elements and live-preview changes to their CSS
One of the most frequent request by people using Elementor is how to change the look of certain specific elements. And the most frequent answer is CSS.
The problem is that most people don’t know how to properly use the Inspect function to target the right element, and modify the CSS. Here is how. Watch the video or keep reading!
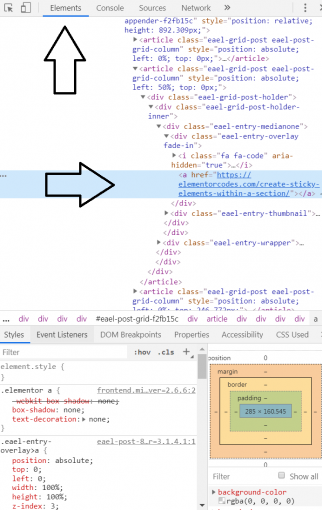
To begin with, right-click on the exact element you want to modify and choose 'inspect'

In this example we are going to make only one of the feature images disappear from this post-grid element, something that can only be accomplished with custom css.
Now you should see the element you selected on the right
It might look a bit different on your end. Try resizing the right window so that you have plenty of space to see clearly. You can also resize different parts of it.
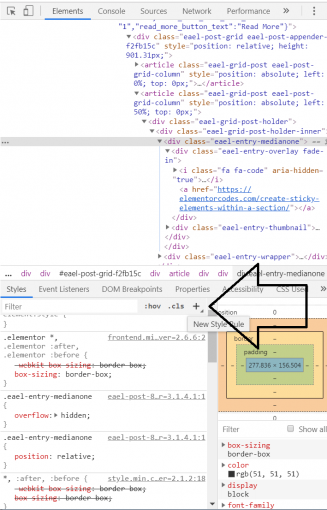
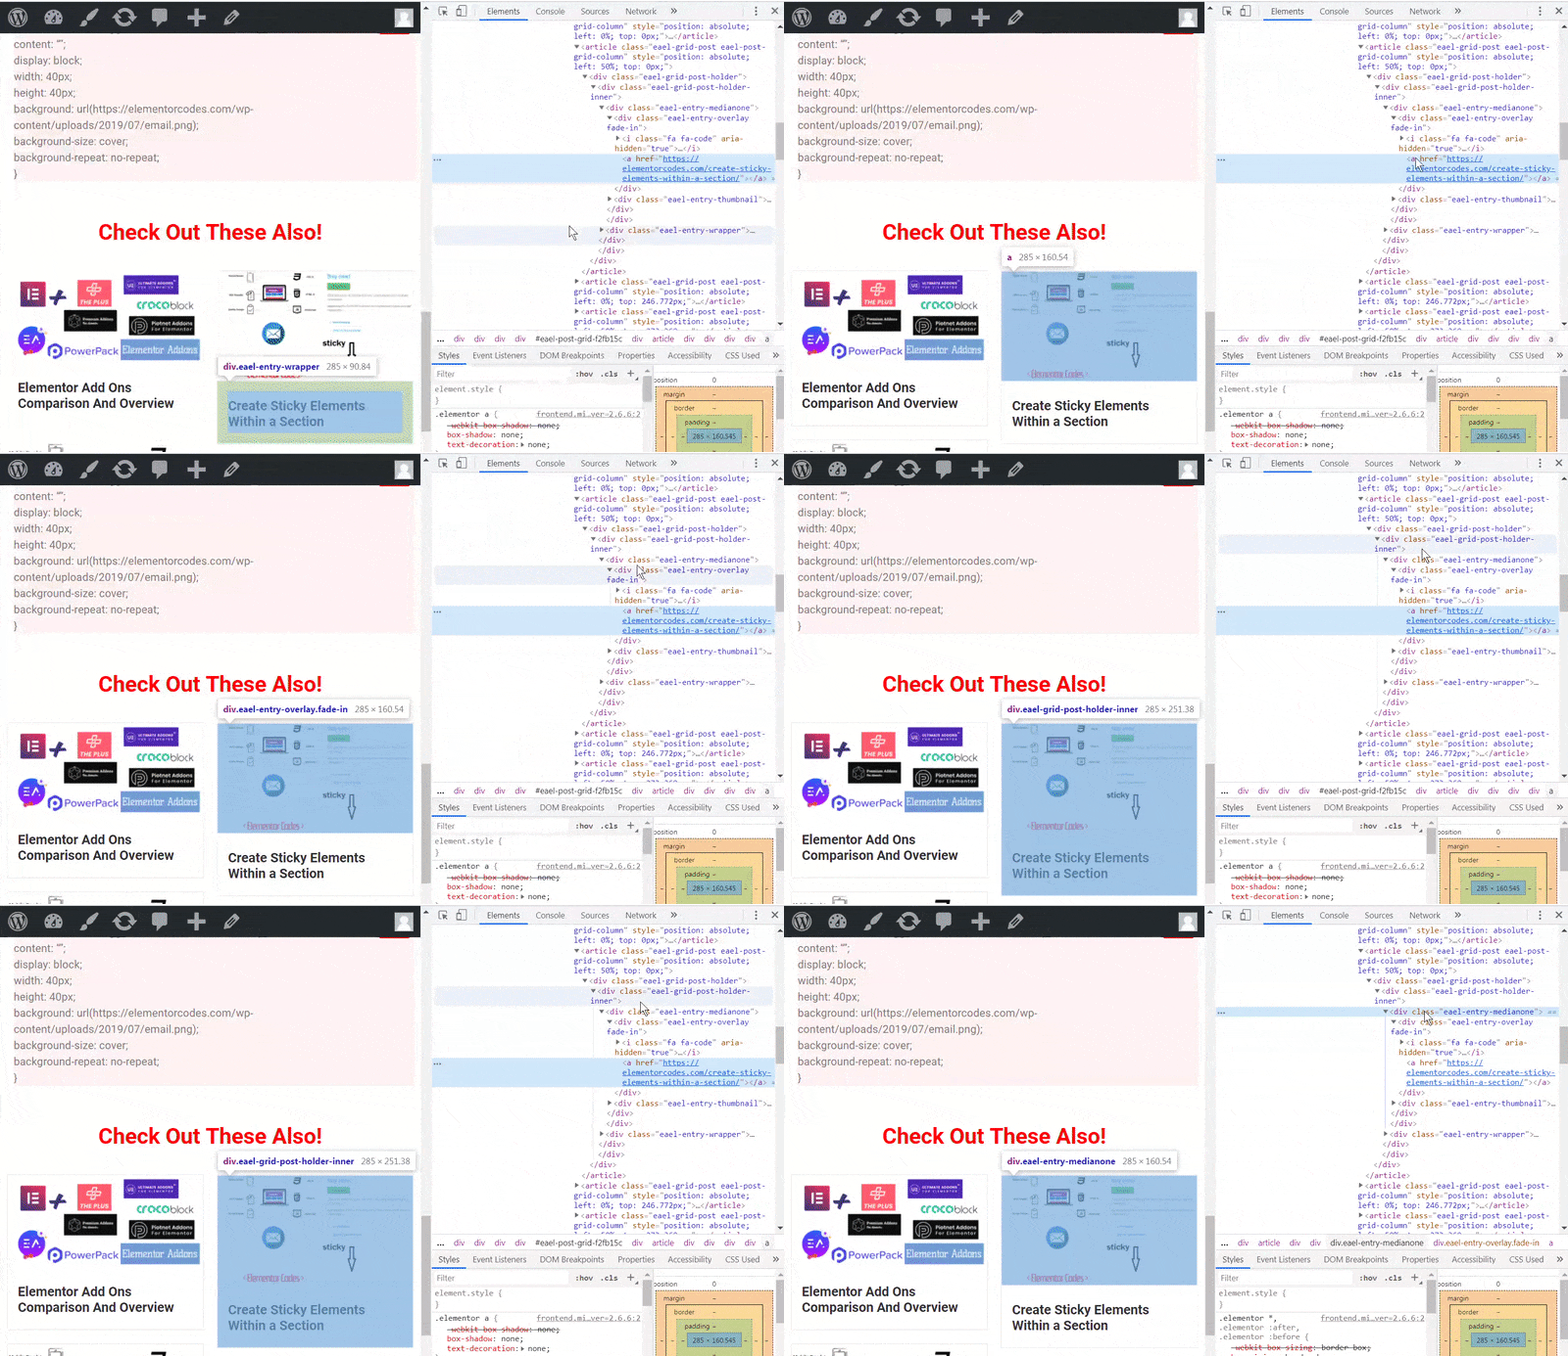
Then we need to find the earliest parent containing ONLY what you want to modify
This is accomplished by hovering over the elements on the right. You look at the element you are trying to select on the left, and when it is the only thing marked up, you got the right one. Click on it.
After this, click on the little '+' sign in the Styles tabs
Then, click right after the opening ' { '
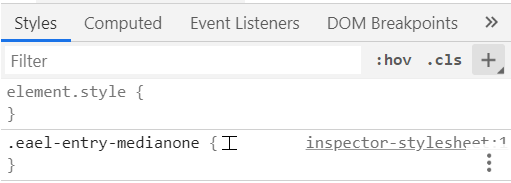
Now you can finally enter the custom CSS, and you will get a live preview of the modifications
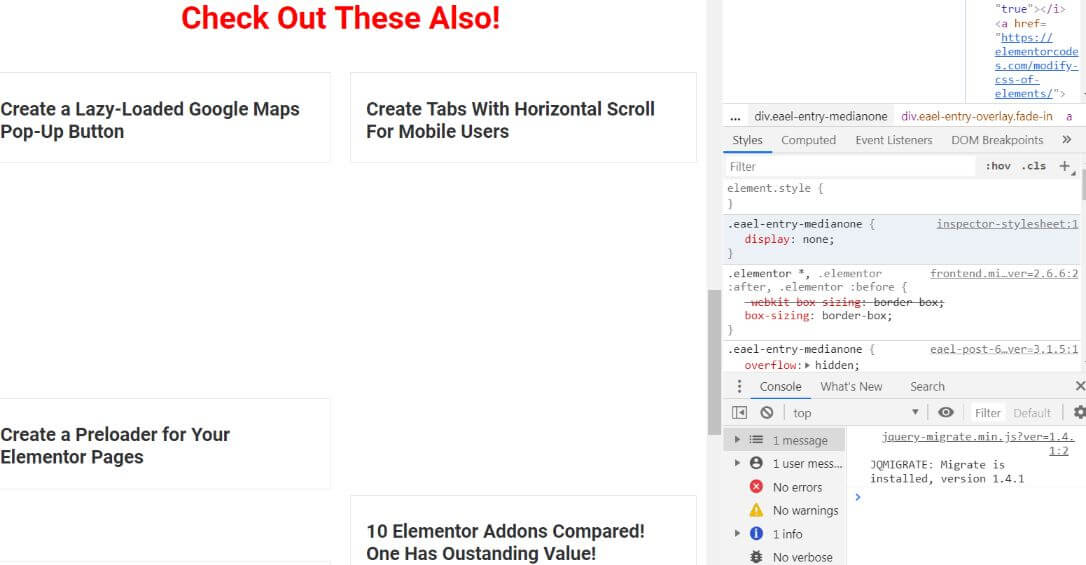
In the event that the modifications aren't working exactly the way you would like, for example they are affecting more elements than you want, go back to the earliest parent and right-click > Copy > Copy selector
In this example, for instance, we want only one image to disappear, not all of them.
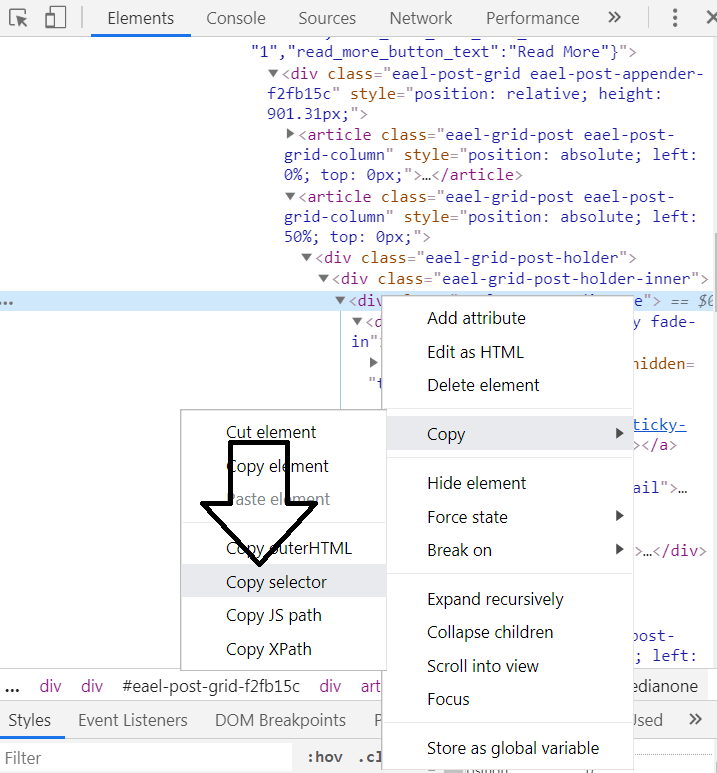
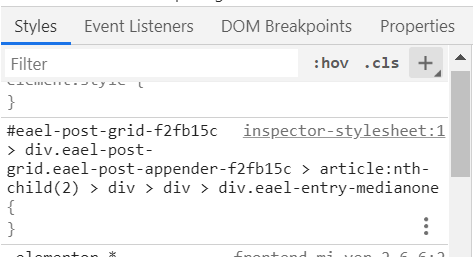
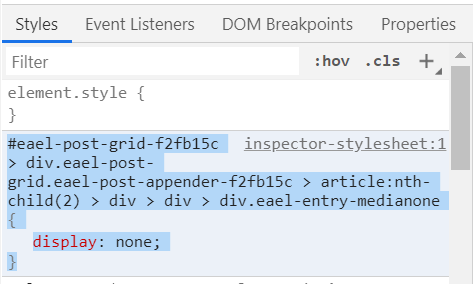
Then click the little '+' sign again in the Styles tab, and simply press CTRL-V to paste the selector. You should get something like that
And now we get the desired results
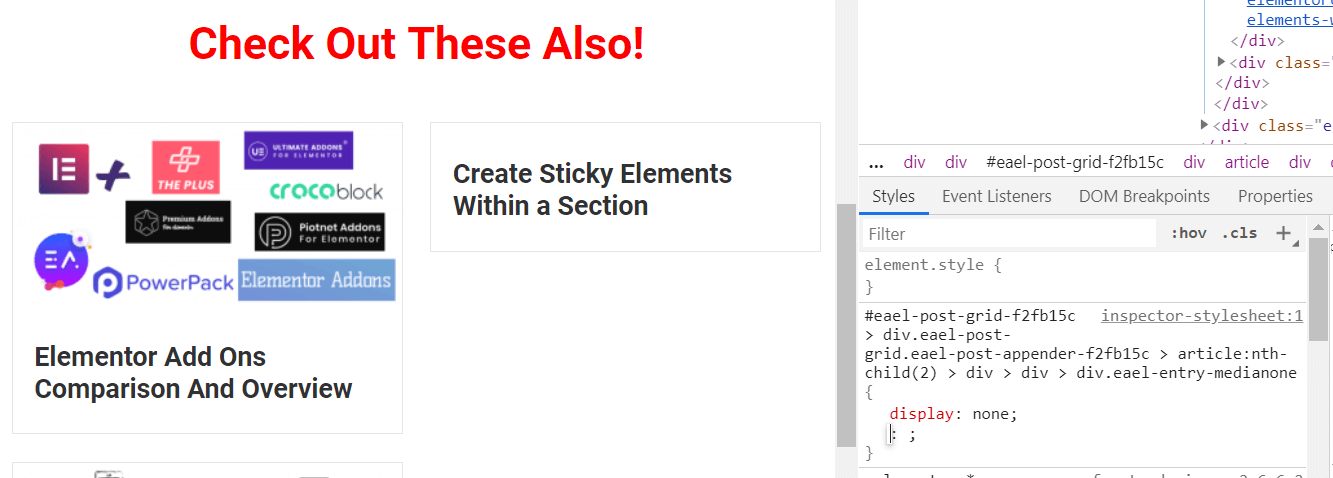
When you are satisfied with the results, select everything, and copy it in Elementor, or in the CSS plug-in of your choice
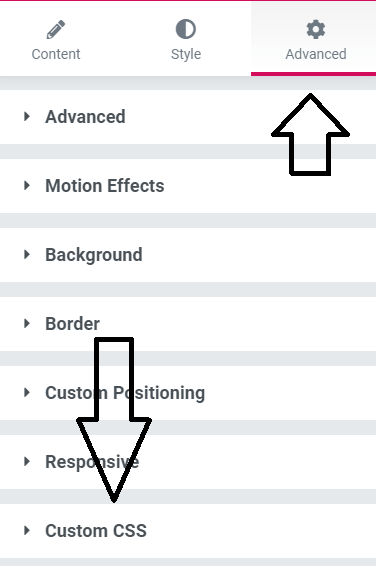
In Elementor that is where it would go, in the corresponding element
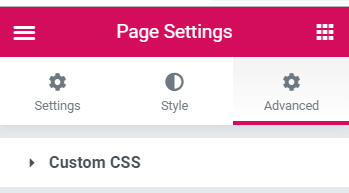
Or here
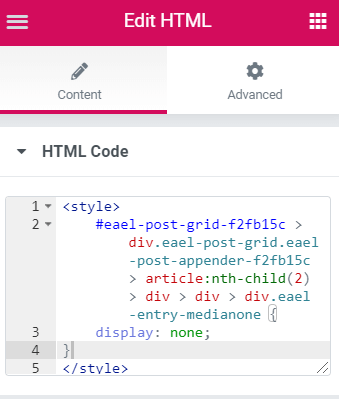
If you don't have Elementor Pro, you can add it in an HTML element, in-between <style> tags
This HTML element can be placed anywhere on the page
Additional info
Frequently, the selector given by chrome will be uselessly long, and a shorter one would do the job. If and when you are good enough with CSS, you will be able to easily single out the necessary selector; until then, using what chrome provides you should work just fine.
