
In this tutorial, I will show you how you can control any and all Elementor carousels and sliders, with custom arrows, positioned wherever you want.
For example, you could make use of the Elementor Icon element to have a set of arrows in one column, that controls an Elementor carousel in another column.
Here is the rough example:
This tutorial will work on the following Elementor carousels and sliders:
- Elementor Carousel (the new one where each slide is a container)
- Elementor Loop Carousel
- Elementor Image Carousel
- Elementor Testimonial Carousel
- Elementor Review Slider
- Elementor Slides Element
- Elementor Background Slider
Let's get started!
First, copy paste this Elementor Carousel Control with Arrows code on your page
Add the HTML element on the page where you need the arrows to control a carousel or slider.
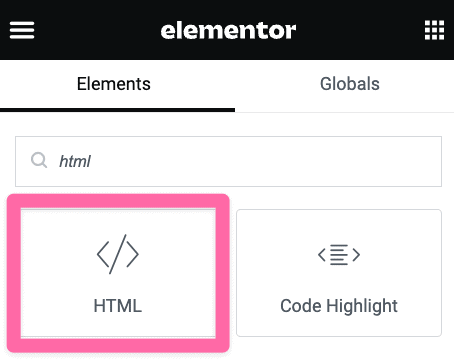
Copy paste this code in it:
<script>
/* Please login to get the code
 * The code will be for the Elementor Control Carousel With Custom Arrows & Position tutorial
 * Found at this URL https://element.how/elementor-control-carousel-custom-arrows/
 */
</script>
Now, setup your arrows and your sliders and carousels element
The arrows could be any element really, in the demo I used the Icon element.
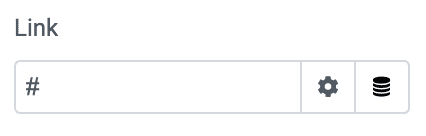
Preferably, use an element where you can enter a link, and enter "#" in the link field. This will make the cursor a pointer, and will also make it keyboard accessible.
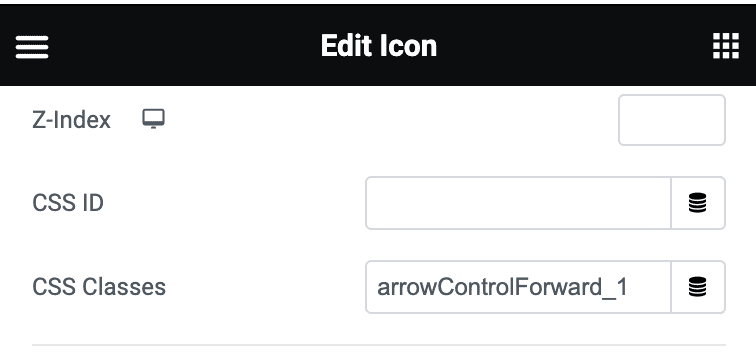
The important thing is that you set up the elements with the proper class names:
The element that, on click, you want the related slider to move forward, needs the class name arrowControlForward_1
The element that, on click, you want the related slider to move back, needs the class name arrowControlPrevious_1
The swiper element that should be controlled by these, needs the class name controlledByArrows_1
You can have as many of each of these as you wish.
So for example, you can have three arrows with the class name arrowControlForward_1. Maybe on mobile for instance, you need a different design for some reason... give it the same class name, it will work.
Other Elementor carousels on the page, controlled by another set of arrows
If lower down on your page, you have another carousel that you wish to be controlled by other arrows, simply use the class names arrowControlForward_2, arrowControlPrevious_2, controlledByArrows_2 instead, and so forth.
Accessibility
To make this all at least partially accessible, use elements where you can enter a link.
Enter "#" in the link field, and click the keg icon to see more link settings.
Under Custom Attributes, enter a aria label that works for you.
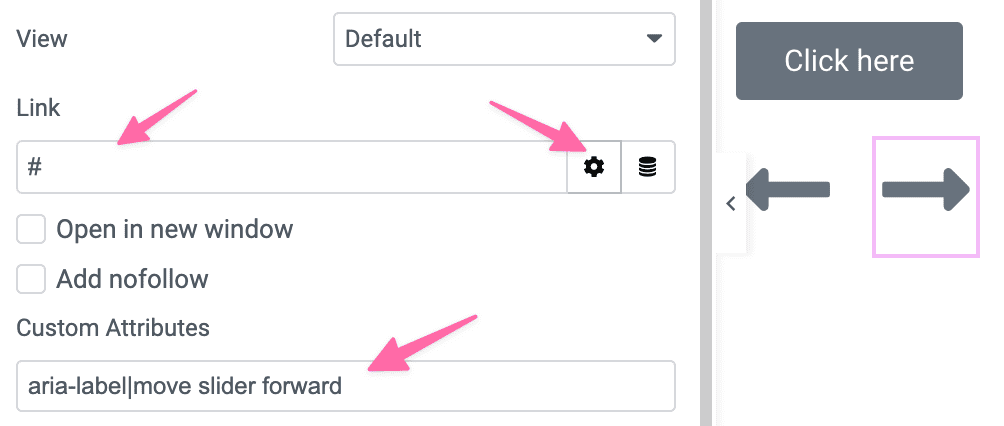
For example here I added simply:
aria-label|move slider forward
Finally, enjoy your custom arrow controllable Elementor carousels and sliders!
I hope you enjoyed this tutorial.
Cheers!
2 Responses
Codes do not work, because of:
<script>
/* Code from https://element.how/elementor-control-carousel-custom-arrows/ */
<script>
in codes 😀 , There is 2 <script>.
Fixed, thank you!